
This post is the last post in the series of three. I am going to deploy my custom docker image on Azure using the Azure Container Service. For the other 2 see:
Deploy your docker container on the Oracle Cloud,
Deploy your docker container on Amazon EC2.
Let’s get started.
Create a container registry
First we need to login to the Azure platform. If you don’t have an account yet, you can just create one. At the moment of writing you get 170,- free for usage of services for 30 days.
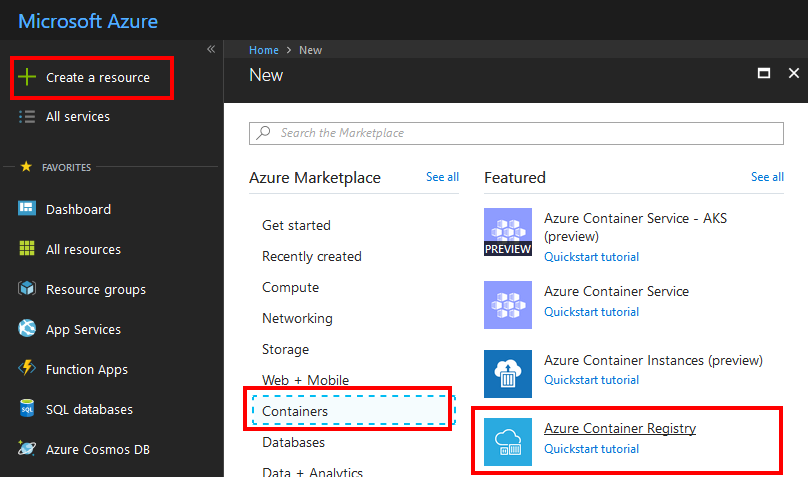
As Azure has its own Container Registry and it is not possible to pull images from DockerHub we need to create a registry first to push our image to. When you have logged in to the Azure dashboard, click Create a resource and choose from the Containers the option Azure Container Registry.
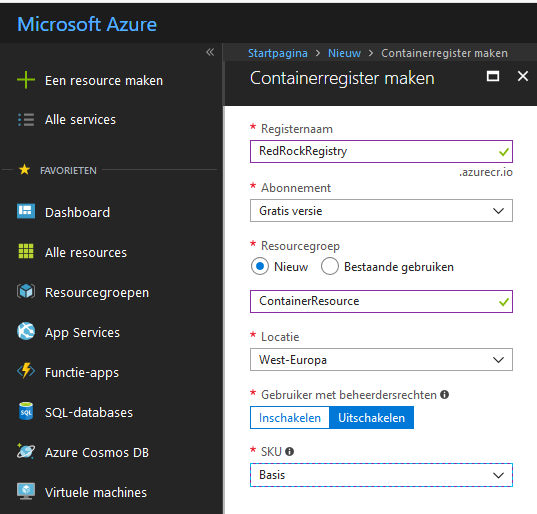
In the next screen just name your registry. I will name mine RedRockRegistry. Choose to create a ResourceGroup, choose your Location and choose SKU. I will choose Basic which is a cost-optimized entry point for developers learning about Azure Container Registry.
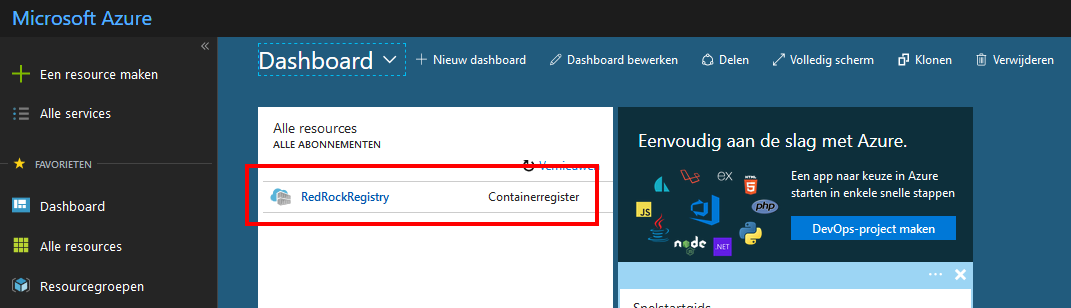
When you have succesfully created the Registry, it will also show on your dashboard.
Next we will have to get the username, password and registry name to be able to push our custom docker image to the repository. For this click on the Registry and Enable the Admin User.
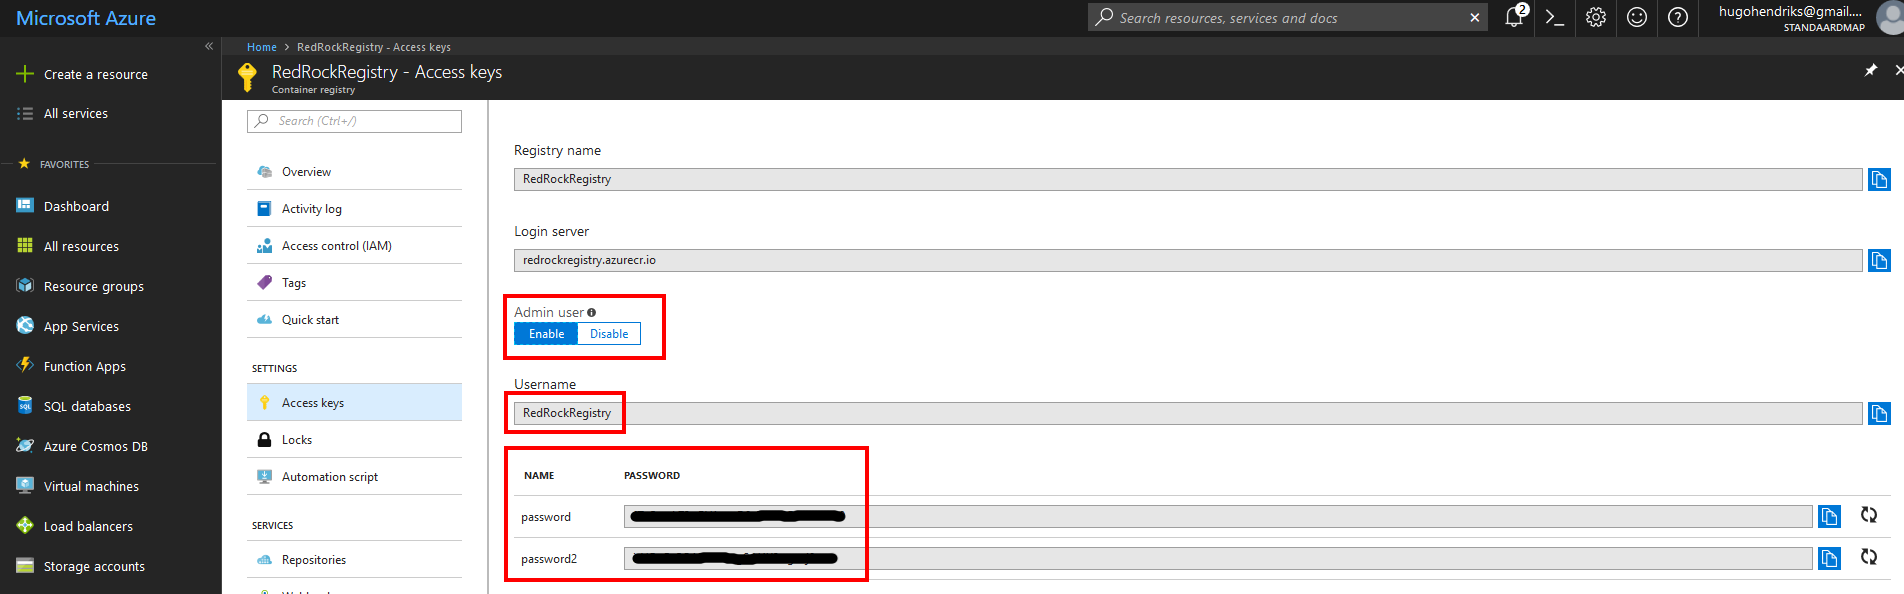
Below now shows the username and passwords.
Push docker image to Azure Container Registry
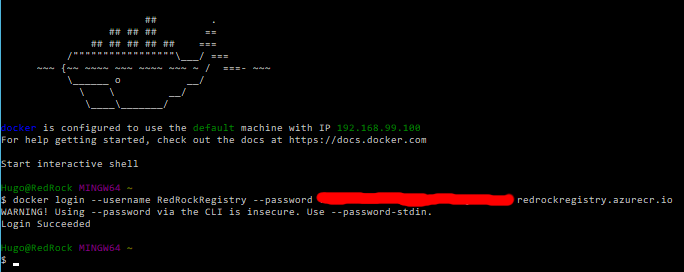
Start your docker CLI and login to the just created Azure Container Registry using the registry name, username and password.
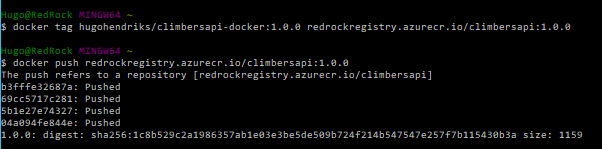
After being succesfully logged in we are going to tag my image and push it to the Registry using the docker tag and push command.
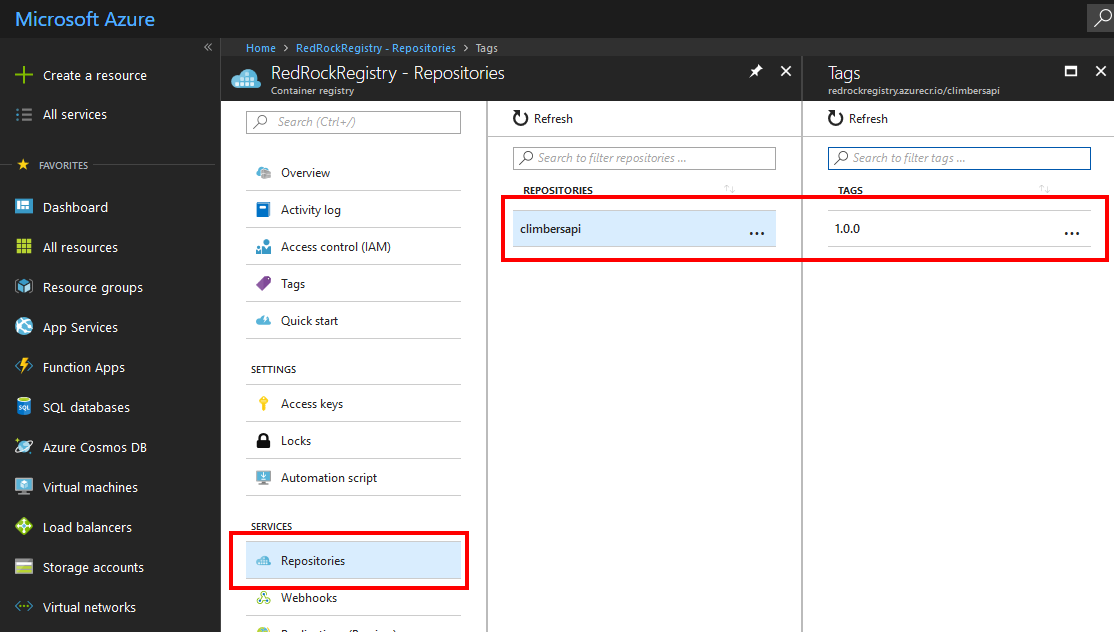
When this was done, you can switch back to Azure Dashboard. If you are still on the Registry you can click on Repositories down below and see the just uploaded image.
 . The next thing is to start a container.
Start the container
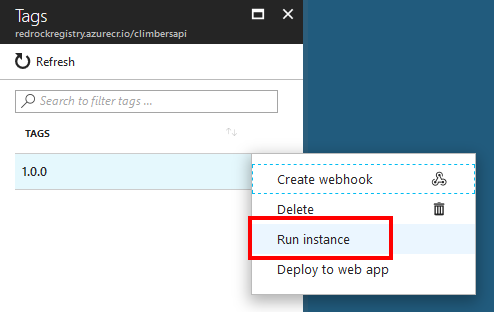
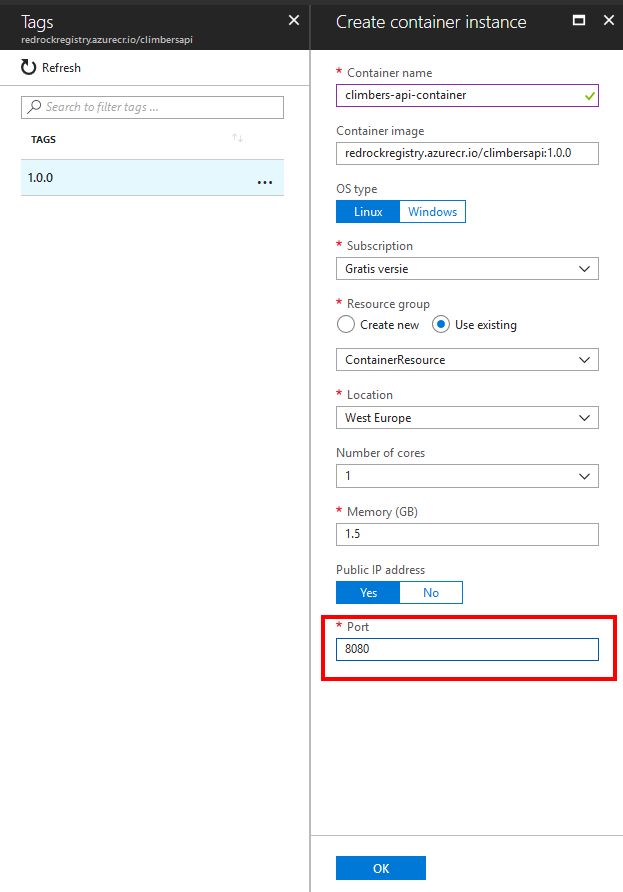
In the registry, select the image you want to run and press the … next to the version. A context pop-up will open with the option to run the instance.
After this we have to fill in some configuration for the running instance. A container name, Resource group, Location and port. Remember that my application in the container was running on 8080 so I select that port instead of the default 80.
After clicking OK, the instance is being provisioned. When that is done, you can see your running container on the dashboard.

The only thing we need to see if it actually worked is to get the ip. Just select the container and you will see a screen with the container details. You can copy the ip of the instance there.

Now for the proof of the pudding open postman, paste your ip in the endpoint and call your API.
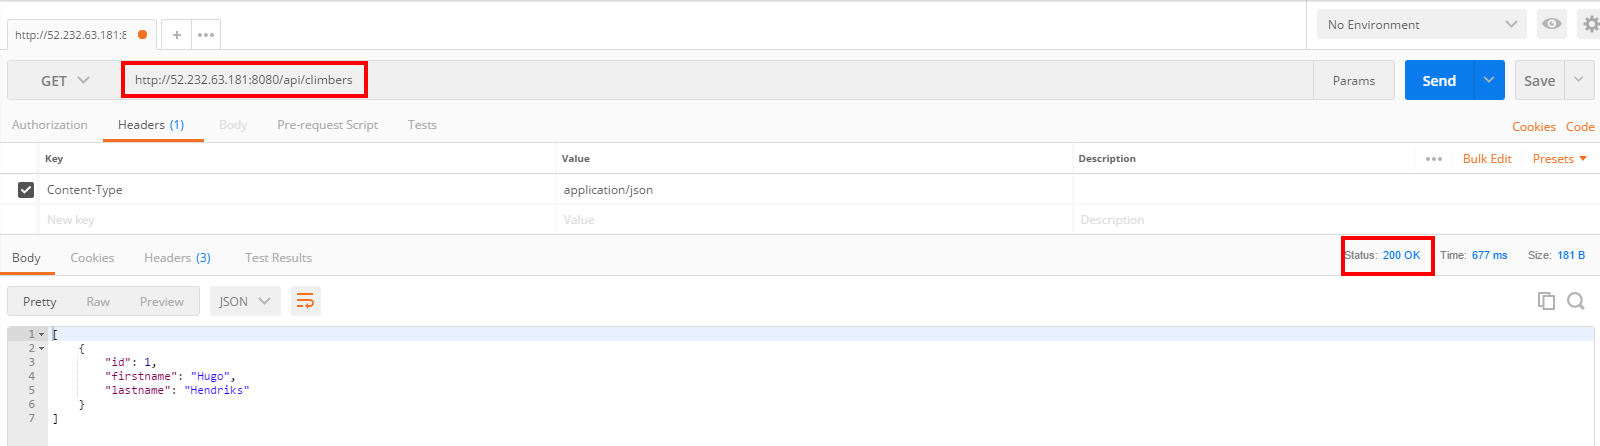
Voilà! The container runs perfectly.
Running the instance when it is uploaded in the Azure Registry is very easy. It just took a few clicks. It took me longer to push the image to the registry then to start it. The Dashboard of Azure feels very nice though. Azure also just released a preview of Managed Kubernetes for Azure Container Service which is nice when you have a complex container landscape. I might have a deeper look there to see how that works.
References:
https://docs.microsoft.com/en-us/azure/container-registry/container-registry-get-started-portal